Congratulations!
You are now ready to set up your connection.
Download:
Setting up your hicap connection is easy with our easy to use software.
To download it, click here.
Installation:
After you download the software, installation is a breeze:
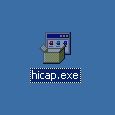
Double click on the file labeled "hicap.exe".
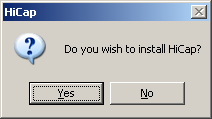
Select "Yes" when it asks you if you wish to install
HiCap.
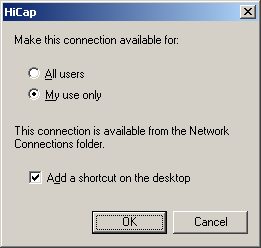
Select if you would like to install this connection for all users
or just you.
It is then recommended that you place a shortcut to
"HiCap" on your desktop.
When your ready, click "OK
".
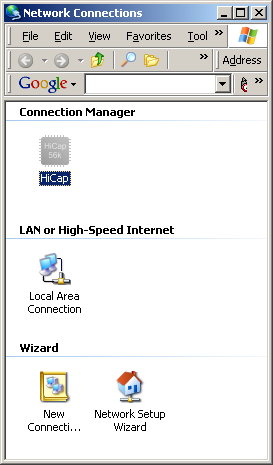
Once the installation is complete, an icon will be placed on your
desktop labeled "Shortcut to HiCap".
Also, you will
notice a window labeled "Network Connections" popup, as
well as the connect window.
The "Network Connections"
window is where your connection is typically stored.
For now, you
can close this window.
The Connect screen (seen above), is the
typical window you will see when you go to connect.
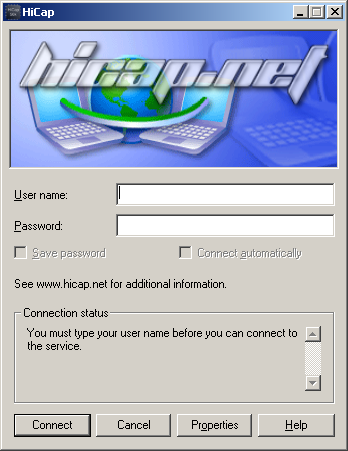
Getting connected is a pretty simple task, especially after the initial installation.
Just type in the username@hicap.net / password you used to sign up with,
and click on the "Properties" button.
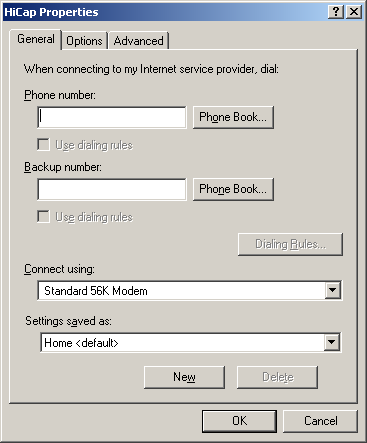
Once the properties window shows up, you want to click on the top
button labeled "Phone Book".
This will take you to a
listing of all available phone numbers.
Select the phone number
that is closest to your area, and then click ok.
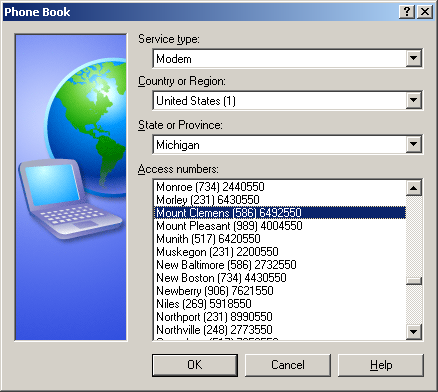
Click "OK" to the properties window, and click "
Connect".
You should hear your modem dial out, and within a
few seconds, you should see a connect screen. Bingo, your finished!
If you have any questions about any of the steps listed above, please email us
at support@hicap.net
Enjoy your service!
Back to Tech Support
|